


Introduction
A bathroom vanity is an essential element that not only adds style to your bathroom but also offers valuable countertop space and storage. Over time, bathroom vanity designs can become outdated and may need to be replaced with new ones. While the process of replacing a bathroom vanity may seem daunting, with the right tools and preparation, it can be a relatively straightforward DIY project.
In this expert guide, we will provide you with a step-by-step process on how to replace your bathroom vanity. We’ll cover everything from removing the old vanity to selecting and installing the new one. Whether you’re looking to enhance the aesthetic appeal of your bathroom or improve its functionality and storage, this guide will help you achieve your goals. So, let’s dive in and learn how to replace your existing vanity like a pro.

Why Upgrade Your Bathroom Vanity?
Enhancing Aesthetic Appeal:
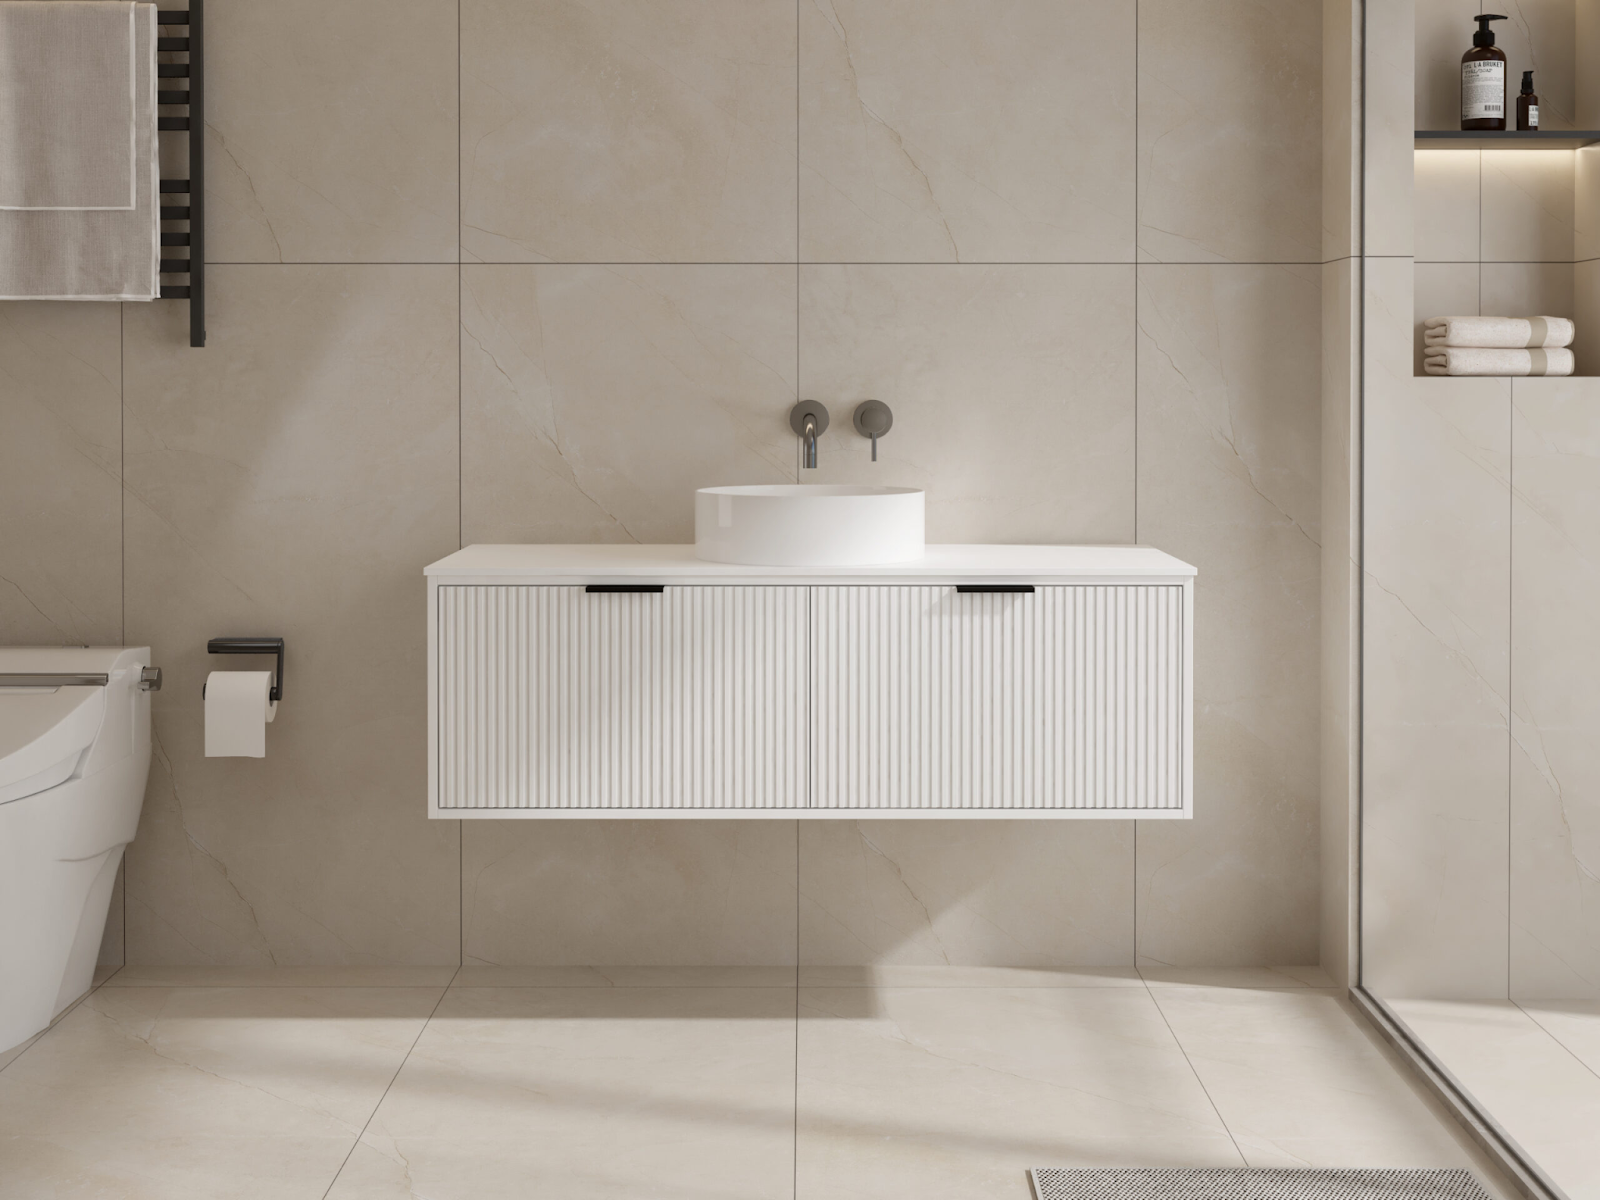
Replacing your bathroom vanity can significantly enhance the aesthetic appeal of your space. With a modern design, it transforms the look and feel of your bathroom, offering options that match various styles and preferences.
Improving Functionality and Storage:
Upgrading your vanity not only enhances aesthetics but also improves functionality. It provides valuable counter space for toiletries and makeup, along with additional storage options like drawers or cabinets, ensuring a clutter-free and efficient bathroom space.
Selecting Your New Bathroom Vanity:
Consider Size, Style, and Material:
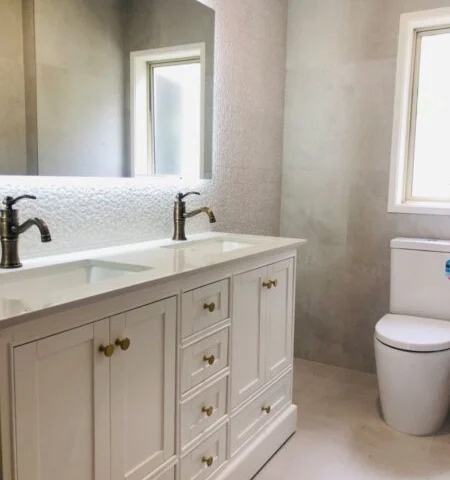
When choosing a new bathroom vanity, think about factors like bathroom size, style, and material. Measure your bathroom space to ensure the vanity fits properly and complements the layout. Evaluate the durability and maintenance requirements of different materials, such as wood, laminate, granite, or marble. Opt for a style that complements your bathroom decor.
Evaluate Space and Layout:
Assess your bathroom’s space and layout to determine the optimal size and placement for your new vanity. Take into account any obstacles like doors and windows that may affect the vanity’s dimensions. Ensure the vanity allows for easy movement and access to other areas of the bathroom, creating a functional and visually appealing space.
Follow Installation Guidelines:
Carefully follow the New Zealand-based manufacturer’s instructions when installing your new vanity. Ensure proper measurements and alignment for a seamless fit. If you removed vanity doors during the removal process, reinstall them according to the guidelines. Taking these steps ensures a smooth and successful installation of your new bathroom vanity.
Preparing for Vanity Replacement
Before you start the process of replacing your bathroom vanity, it’s important to properly prepare for the task at hand. This involves gathering the necessary tools and materials, taking safety precautions, and familiarising yourself with the steps involved. By being well-prepared, you can ensure a smooth and successful installation process.
Tools and Materials Checklist
To replace your bathroom vanity, you will need the following tools and materials:
- Stud finder: This tool helps you locate the studs in the wall, which are essential for securely attaching the vanity.
- Utility knife: A utility knife will come in handy for cutting caulk and other materials during the installation process.
- Silicone caulk: Silicone caulk is used to create a watertight seal around the edges of the vanity and sink.
- Putty knife: A putty knife is useful for removing old caulk or adhesive from the wall or vanity.
- Adjustable wrench: An adjustable wrench allows you to easily tighten or loosen nuts and bolts.
- Bucket: Use a bucket to catch any water or debris during the removal and installation process.
- Cleaning cloths: Cleaning cloths are essential for wiping down surfaces and ensuring a clean installation.
- Safety glasses and gloves: Safety glasses and gloves protect your eyes and hands during the installation process.
Safety Precautions and Setup
Before you begin replacing your bathroom vanity, it’s crucial to take the necessary safety precautions. Wear safety glasses to protect your eyes from any debris or splashing water. Additionally, wearing gloves will help prevent any injuries or accidents. It’s also important to shut off the water supply valves before starting the installation process. This will prevent any potential water damage or leaks during the removal and installation process. Taking these safety precautions will ensure a smooth and safe vanity replacement experience.
Step-by-Step Guide to Removing the Old Vanity
Now that you are prepared and have taken the necessary safety precautions, it’s time to begin removing the old vanity. This step-by-step guide will walk you through the process of disconnecting the plumbing and safely detaching the vanity from the wall. By following these steps carefully, you can successfully remove the old vanity without causing any damage to your bathroom, and release any remaining pressure in the water valves and drainpipe.
Disconnecting Plumbing and Water Supply
To remove the old vanity, start by disconnecting the plumbing and water supply. Turn off the water valves for the sink and use an adjustable wrench to loosen and disconnect the supply lines. Have a bucket or towel ready to catch any spilt water.
Safely Detaching the Vanity from the Wall
After disconnecting the plumbing and turning off the water supply to the vanity, it is important to safely detach the vanity from the wall. This can be done by removing screws at the top, and be sure to check for any hidden screws under decorative caps. If the vanity is attached with adhesive, use a utility knife along the edges to loosen it and release any water pressure that may have built up in the pipes. Once all screws and adhesive are removed, carefully pull the vanity away from the wall.
Installation Process for Your New Vanity
It’s time to install your new vanity! Follow the manufacturer’s instructions carefully to ensure a successful installation. Start by assembling the vanity base according to the provided instructions. Use the necessary tools and hardware to secure the bathroom vanity cabinet in place. Ensure that the vanity is level and secure by using shims or adjusting the legs if necessary. Once the vanity base is securely in place, proceed to install the vanity top and connect the plumbing fixtures according to the manufacturer’s instructions.
Positioning and Securing the Vanity Base
To install a new bathroom vanity, begin by removing the old one and tidying up the space. Use a level to ensure the new vanity is perfectly straight. Secure it to the wall studs with screws for stability, especially if it’s heavy or will hold weight. Proper installation ensures durability.
Attaching the Vanity Top and Sink
Properly attaching the vanity top and sink is essential when replacing a bathroom vanity. Begin by placing the vanity top on the base, making sure it’s level. If necessary, use a hole saw kit to create sinkholes.
Next, attach the sink by applying silicone caulk along the edge of the vanity top. Lower the sink into the caulk, press firmly, and wipe away excess caulk. Allow it to dry before using it to prevent leaks and water damage.
Final Touches and Reconnections
After positioning and securing the vanity base and attaching the vanity top and sink, it’s time to make the final touches and reconnections. This includes installing the faucet and drain assembly, reconnecting the water supply lines, and applying silicone sealant for added protection.
Installing the Faucet and Drain Assembly
Installing a bathroom vanity involves positioning and securing the faucet and drain assembly correctly. Follow the manufacturer’s instructions to position the faucet and use the provided gasket for a watertight seal. Tighten the faucet with a wrench.
For the drain assembly, place a rubber gasket on the sink bottom, attach the drain pipe, and tighten connections using pliers. Test for leaks by turning on the water supply and make adjustments if needed. Reconnect water supply lines to complete installation.
Reconnecting the Water Supply Lines
After installing the faucet and drain, reconnect the water supply lines by following these steps:
- Turn off the water supply valves under the sink.
- Disconnect existing water supply lines with an adjustable wrench.
- Attach new water supply lines to the faucet connections and tighten them securely.
- Turn on the water supply valves and check for leaks.
- If there are leaks, tighten connections or replace damaged parts.
- Run water through the faucet to thoroughly test for leaks.
- Clean up excess water once satisfied with leak test results.
This ensures your bathroom vanity is properly connected without any water damage concerns.
Post-Installation Checklist
After installing a new bathroom vanity, it’s important to complete a post-installation checklist to ensure everything is in proper working order and to prevent any future issues. This checklist includes performing a leak test, caulking any gaps, and following maintenance tips for long-term durability.
| Checklist Items | Details |
| Perform a leak test | Run water through the faucet and check for any leaks |
| Caulk any gaps | Fill any gaps with silicone caulk for a watertight seal |
| Follow maintenance tips | Regularly clean and maintain the vanity surface and fixtures |
Completing this checklist will help keep your new bathroom vanity in excellent condition and ensure that it functions properly for years to come.
Cleaning and Maintenance Tips
To keep your new solid wood, plywood or MDF bathroom vanity looking its best and functioning properly, it’s important to follow proper cleaning and maintenance practices. Here are some tips to help you maintain your vanity:
- Regularly clean the vanity surface using a mild soap or cleaner and a soft cloth or sponge. Avoid abrasive cleaners or scrub brushes that may damage the surface.
- Wipe up any spills or drips immediately to prevent staining or damage to the vanity surface.
- Avoid using harsh chemicals or abrasive materials on the vanity, as they can cause discolouration or scratches.
- Check the vanity regularly for any signs of wear or damage, such as loose screws or hinges. Tighten or repair any loose or damaged components.
- Follow the manufacturer’s instructions for any specific care or maintenance recommendations for your particular vanity.
- Consider applying a protective sealant or wax to the vanity surface to help protect it from moisture and stains.
By following these cleaning and maintenance tips, you can ensure that your new bathroom vanity remains in excellent condition and continues to enhance your bathroom’s overall appearance.
Conclusion
In conclusion, replacing your bathroom vanity can significantly enhance both the aesthetic appeal and functionality of your bathroom. By following a systematic step-by-step guide, you can successfully upgrade your vanity with ease, from disconnecting plumbing to completing the installation process. Each stage contributes to a successful outcome.
It’s important to consider factors like size, style, and material selection when choosing your new vanity to ensure it fits seamlessly into your bathroom. Additionally, explore our range of vanities from trusted brands, available on the Danik Bathroom website to find the ideal fit for your space.
Completing the final touches and reconnections with care will leave you with a bathroom that not only meets your needs but also reflects your personal style preferences. Happy renovating!
Frequently Asked Questions
What should I do if I encounter mould or mildew behind the old vanity?
If you discover mould or mildew during the removal process, take precautions to avoid exposure. Wear a mask to prevent inhalation of mould spores and use appropriate cleaning solutions to remove the mould safely. Consider consulting a professional for extensive mould remediation.
Is it necessary to ventilate the bathroom during the vanity replacement process?
Yes, it’s essential to ensure adequate ventilation in the bathroom to prevent the buildup of dust, fumes, and other airborne particles. Open windows and doors if possible, and use exhaust fans to improve air circulation and maintain a healthy indoor environment.
What should I do if I accidentally damage the bathroom walls or floor during the vanity replacement?
If you inadvertently damage the walls or floor while working on the vanity, take steps to repair the damage promptly. Depending on the extent of the damage, you may need to patch holes, fill in gaps, or replace damaged tiles. Consult a professional if you’re unsure how to proceed.
What should I do if I encounter electrical wiring behind the old vanity?
If you encounter electrical wiring during the removal process, exercise caution and avoid touching any exposed wires. Turn off the power to the bathroom at the circuit breaker and consult a licensed electrician to safely disconnect and reroute any electrical connections.
RELATED POSTS

How To Clean Your Shower Head: Simple Descaling Tricks For A Spotless Bathroom
We all know, with time and regular use, your shower head can get clogged with... read more

30 Walk-In Shower Ideas for Any Size Bathroom
Transforming your bathroom into a stylish, functional sanctuary is a goal for many New Zealand... read more
Designing a Timeless Space: Your Guide to Classic Bathroom Design
A timeless bathroom blends elegance, function, and durability, creating a space that feels fresh for... read more

Stunning Bathroom Trends for 2025
Bathrooms in New Zealand are evolving into stylish, functional, hi-tech havens, and 2025 brings trends... read more
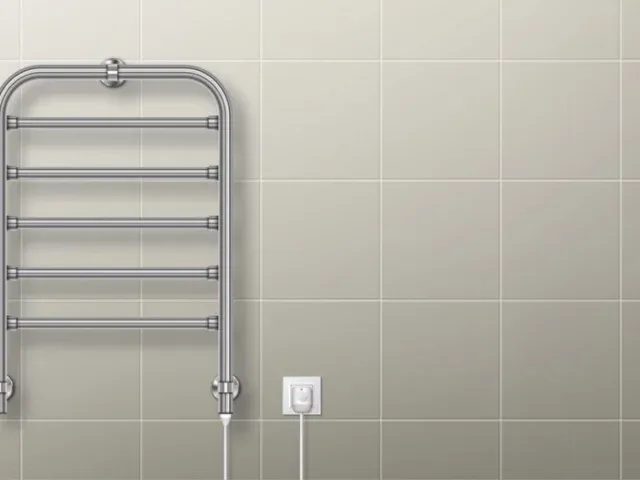
Do Heated Towel Rails Use a Lot of Electricity?
In New Zealand, where damp towels can feel like a fact of life, heated towel... read more

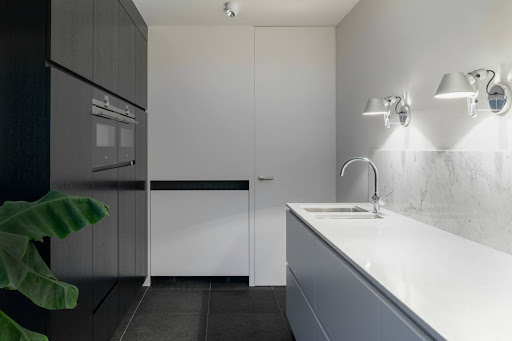
Modern Bathroom Ideas to Inspire You
Bathrooms in New Zealand homes have evolved from purely practical spaces into personal retreats where... read more

Walk-In Shower Trends & Ideas That Inspire
In today’s fast-paced world, people are increasingly looking for bathroom designs that offer both functionality... read more
The Future of Bathing: A Technological Revolution
The bathroom, once considered a purely functional space, is undergoing a technological transformation. What was... read more